Tuesday, 27 September 2016

Brusho, Bleach and Pressed Flowers in my Bible! by Deborah Gregg

Hi again, this is more of a 'technique' blog post to tell you about my experiment with using bleach (yes bleach!) with Brusho, in my Bible (yes - in my Bible!). Yes really! And pressed flowers too. I've had so much fun I had to share it with you! First - here's a photo of the finished pages:


While doing a little online research about Brusho techniques, I came across some instructions about using bleach to lift the colour from your Brusho work.

(In case you don't know, Brusho is basically pigments of beautiful colour crystals in powder form, which you can sprinkle onto a page spritzed with water, or mix with water, to produce amazing vibrant colours and effects).

This sounded a bit exciting so I just had to try it!

I like to live dangerously....now and then!

First - I prepped my Bible pages REALLY WELL. Two coats of clear gesso, the first applied with my fingertips (which gives a nice smooth finish by the way), dried with hairdryer, applied the second coat with a paintbrush (as it was quicker I took a shortcut), and made sure it was completely dry.

I went for a double spread in my Bible, as I wanted to test out Art Basics Clear Gesso (left hand side) and Dina Wakley Clear Gesso (right hand side).

On went the disposable gloves, then I put paper beneath each page, and spritzed the pages with a little water, and sprinkled Brusho in two shades on each page, spritzing a bit more and allowing the colours to blend. I moved the Bible around a bit to help the colours to run over the page. Dabbed with kitchen towel to absorb the excess (especially when it all pooled in the centre!). Dried with hairdryer.


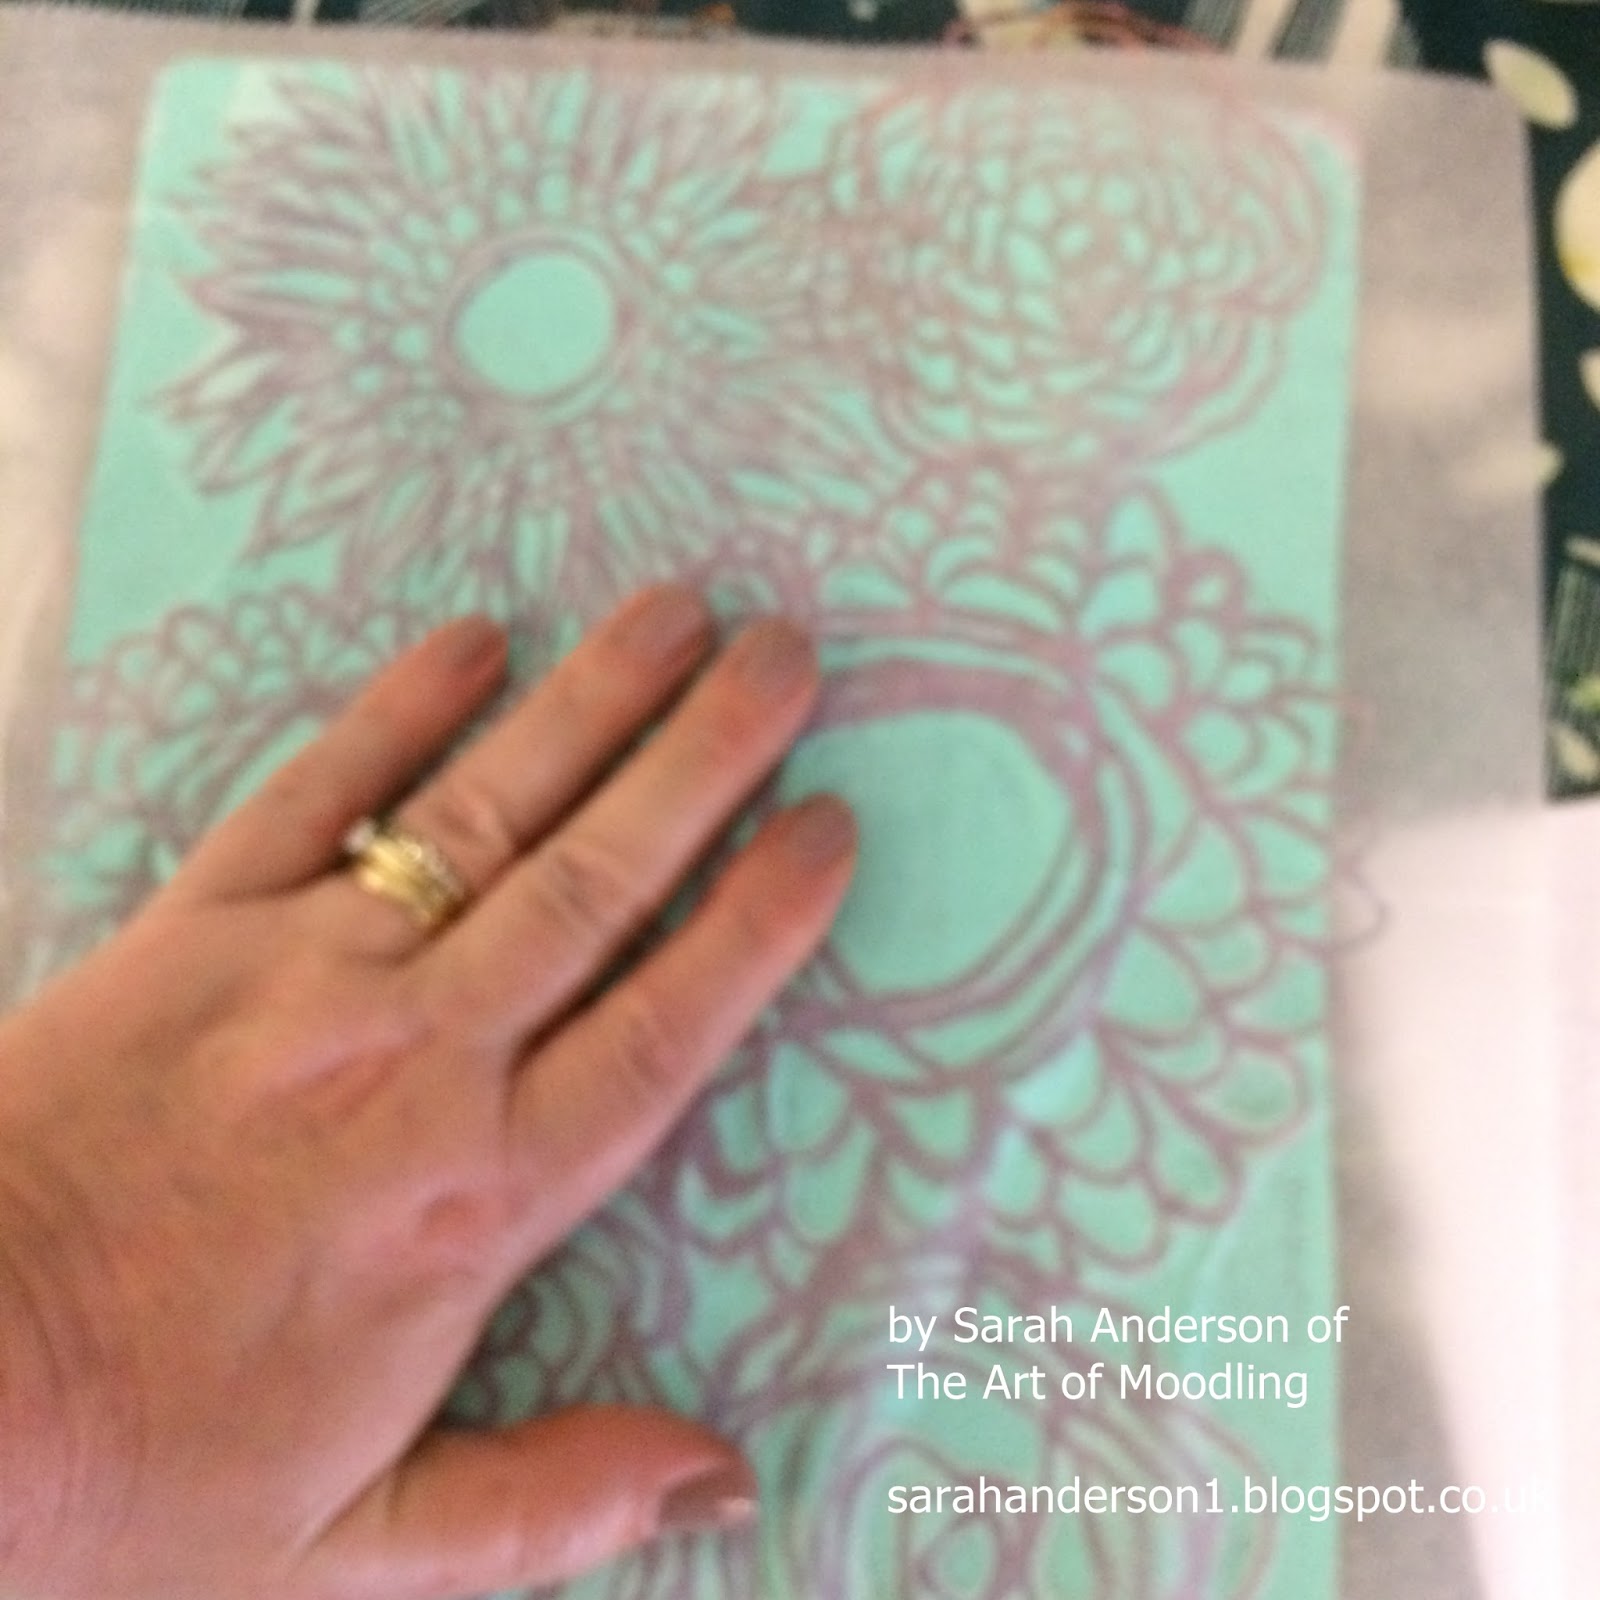
Then I put a tiny bit of thin bleach in a pot, and using an old small paintbrush (with synthetic bristles) I painted a little bleach circle on a scrap page:

As this worked well, I painted a little bleach over a couple of key verses in my Bible (Psalm 25v1 and Psalm 27v1) To my surprise it worked really well and the colour lifted - it wasn't left completely white but enough to stand out.


I also brushed a little bleach onto the tiny bits of bleed-through on the other side of the pages, where the paint had seeped over the page edges, this helped to neaten it up a bit. In retrospect, I should have prepped the underside of each page with gesso too, and will do that next time I use Brusho in my Bible.
(tiny bit of Brusho seeped over the edge of the page)


Back of the Dina Wakely Clear Gesso prepped page, after a tiny brush with bleach on the page edges!


Back of the Art Basics Clear Gesso prepped page, after a quick dab of bleach to tidy the edges.


I was a bit concerned my Bible would smell of bleach but it doesn't!

I left the Bible closed tight to flatten the pages a bit and completed the pages the next day, When I changed my mind about which verses I was going to add as hand lettering! That's fine!

So to complete these pages I used some pressed flowers that I had gathered in the Spring, and had left between sheets of kitchen paper under a pile of books for a couple of months!

To attach these delicate flowers to the page, I used some clear sticky backed plastic book covering. It was a bit tricky to position as I had to get it right first time but it seemed to work well.


I added the lettering using my Micron 03 and 01 pens.

In case you were wondering - both gesso's performed about the same re bleedthrough, very little between them both. I think the Dina Wakely Clear Gesso'd page feels a little bit more chalky than the Art Basics Clear Gesso'd page, which feels a bit smoother to me. But really not much in it at all! Both are great.

Psalm 23 is an amazing Psalm, one that we can all identify with. One that I keep coming back to, and I journaled this as it came up on my daily readings this week, and I've been praying for a family in our church, who have just lost a loved one this week.

In the summer at New Wine, I had a great conversation with one of the ladies who came to one of my Journaling workshops, she shared with me that Psalm 23 contains many of the Hebrew names of God. Which fascinated me as I've been studying the names of God recently - He really is everything we need. So I really enjoyed this opportunity to add these into my journaled page.


As this is a double spread page, on the other page I hand-lettered Psalm 25v15(a) 'My eyes are ever on the LORD' as I love this reminder to keep my eyes always fixed on Jesus. This tied in well with some dried forget-me-nots, which I've re-named as 'Forget-Him-Nots'!

I really enjoyed the process of creating these pages, of trying some new techniques and most importantly spending time thinking and praying over these beautiful verses in the Psalms.


Why not try something new today? Be inspired, be brave, and enjoy some creative time with your Bible!  


Tuesday, 20 September 2016

Covered with His Feathers - by Sarah Anderson

Something heart warming comes out of illustrating this verse.  Time cutting out feathers and positioning them on a page in order to surround the text brings out the meaning of the words and fires the imagination.


s o o t h e d - p r o t e c t e d - c o m f o r t e d - s u r r o u n d e d - s a f e - l o v e d

Wow!

It is in the time adding colour to the page, cutting out elements etc, planning what to do, that I think about the verse, over and over.  Meditating, submerging myself in the word, allowing the words to sink deep and 'be', and through this, the words speak to my heart.  I've been taking part in a challenge over on Instagram to #letterthepromises which can be as simple as just writing out the suggested verses (one for each day).  There are lots of this type of challenge on the internet and it's a great way to refresh your bible art journaling.


I am working in an A5 sketchbook available from Hobbycraft/the Range.  Today I used my gelatos by dabbing the end with a baby wipe ...


... then smooshing the colour onto the page.  I used a range of pinks and blues.


I then rubbed the gelato through a stencil...


... then rubbed the baby wipe across to ensure the colour went through the 'holes'.


Again I used pinks and blues which make a beautiful purple when they overlap.


Before I go any further, I must just let you know how pleased I am with this photo!  I have the paintbrush in my right hand and am tapping it with my left  - little things I know but I successfully mounted my iphone on a stand AnD used the timer :) :) :) 

Anyway, I got some watery watercolour paint and tapped my paintbrush over the page for some lovely paint splatters.


Whilst perusing wallpaper in John Lewis recently I came across some beautiful paper featuring these gorgeous painty feathers.  Using a sample of paper I cut out a range of different feather shapes ...


... and glued them to the page using a Pritt Stick.  I left some overlapping and when I trimmed them ...


... I placed the cut ends elsewhere on the page.


Finally I added the writing.  

May you know that Almighty God, our Father, covers you with His feathers and shelters you with His wings.  He is your shield.

Tuesday, 13 September 2016

You're Very Good! By Claire Graham

Over the summer I finally 'got' something that God has been trying to tell me for years! 

I've never felt quite good enough, at anything really, I don't look right, I'm not as good a Mum/wife/daughter/friend/Christian as I 'should' be. I listen too much to the voices in my head that say I'm not enough. I'm an introvert and an over thinker. I constantly compare myself to other people and to the 'ideal' unattainable superhero me that I've created in my mind. 

It was while I was away in my caravan that I finally got it. I'd set myself a holiday project of drawing a self-portrait in my Bible (using my amazing inktense pencils and having watched a Rebecca Jones tutorial before we set off - http://www.rebekahrjones.com/bible-art-journaling-challenge-week-17/ ) and God really spoke to me as I was doing it. 


I literally spent hours, over several days working on this page. 


As I kept going back to it, adding layers of colour and details God started speaking to me, really clearly. 


It started as a whisper... "when I said that all I'd created was very good... I meant you, not just good, very good!" and grew and grew... parts of my appearance and personality that I've always struggled with I felt God saying "I made you that way, I love you that way... and I don't make mistakes". So I wrote down what God was saying, and once I was back I wrote it out on tracing paper and stuck it in my Bible with washi tape.


You're not a mistake either, you know, God carefully created and designed you. And once He'd made you He said "you're very good!" Not just good, not oh dear, I messed that up, very good. And God doesn't make mistakes.


Bible Art Journaling UK Admin team - thank you so much Claire for sharing this personal testimony of what God has been showing you over the summer. Going by the comments and conversation this has generated within the Facebook Group, we think this is something we can all identify with! So thanks for sharing this encouraging word.

Tuesday, 6 September 2016

Keeping it Simple - by Karen Herrick

I would love to have the time to spend lots of time with a Bible, coloured pencils and paints but the truth is…I don’t. I love to see other people’s beautiful work…and that in turn inspires and speaks to me -but that doesn’t work for me.
So rather than not dwell on God’s Word at all, I try to keep it simple...REALLY simple.
I don’t journal every day. I don’t journal in one place. Sometimes I journal first thing in the morning before I get up; more often in my studio before I start work, sometimes on the settee, or even in the car…
What? You have a studio…and you don’t take advantage of all those materials you have there?
Well, no actually…because if I got the coloured pencils and paints out I probably wouldn’t start work!
So I asked myself what I could actually maintain as a creative practice whilst exploring God’s Word. What would I actually transport; use wherever I am? I have journaled using the written word for many years now, so always have a pencil or pen and my journal, so I decided to stay simple.

I use this….

And these…

Yup, that’s it!
I could get complicated- but for me, it works like this. The simplicity of the materials stops me from being afraid to make mistakes. In fact, when I recently visited the Treasures Room in the British Library in London, I was really struck by the fact that many famous songs, pieces of music and ideas for books were conceived on the back of envelopes, programmes, serviettes! This is how I work!
Many of the doodles that I have done, end up eventually (and by eventually, I mean several years later!) as completed textile pieces. Many don’t…and never will. It is when I go back to the drawing that more reflections occur and as I stitch detail into the work, I meet with God again as He teaches me, encourages me, admonishes me gently and enables me to share His Word with others.


What is important, is that whatever creative practice we choose HELPS us draw closer to God, and doesn’t hinder us. God loves us to spend time with Him. He doesn’t mind how we do that. We don’t need the fanciest art materials, just a willing heart to be with Him and to sit at His feet and listen.
So, I would like to encourage you to be able to journal well with a style that suits YOU. If that is with coloured paints, pencil crayons, gesso…the whole works… then brilliant! Go for it! If it’s in your Bible: great; in a notebook-that’s fine too. If you like to journal creatively with words, pictures, collage, stitch, whatever it might be, then “Hallelujah!” Our Creator God created us all differently and it is amazing that we can each express and explore our relationship with God through our individual creativity.
What are you waiting for? Pencil? Paper? Back of an envelope? Chalk & pavement? Go for It! Put the kettle on…grab your Bible…God’s waiting for you!

Tuesday, 16 August 2016

Gelli printing and Bible Art Journaling - by Sarah Anderson


Gelli plates have been popular in the art journaling community for a long while now.  They are described by the manufacturers as

"Our Gel Printing Plate looks and feels like gelatin, but is durable, reusable and stores at room temperature. It's easy to clean and always ready for printing. Monoprinting on a Gelli plate is simple and fun. The gratification is immediate, and the prints are too cool!"  

 And when they say fun, it really is!!  A playtime session with a gelli plate, building up a stash of colourful papers, is a great way to de-stress.


They are fabulous to use with deli paper (which I mentioned in my last blog post) so I thought I'd do a step by step for you.


Place a couple of small (5p piece size) blobs of acrylic paint on your gelli plate.  It is always easier to add more if you need it than try and take it off when there is too much.  Spread this over the whole of your gelli plate with a brayer (this is a 10 x 8 plate but there are all different sizes).


Place a stencil over the wet paint..


..then place your deli paper over the top and rub.


The first print you get will look like this (above),


and your gelli plate will look like this (above).


Lift off the stencil and get another piece of deli paper to lay on top of the gelli plate,


which results in this print (above).  It can also nicely pull old bits of paint from your stencil, adding extra delight to your print.


Next, brayer a different colour paint onto the gelli plate, and add some different stencils,


then take one of the first prints and print over the top.


You don't have to keep to one colour on the gelli plate but can put two side by side


and continue to build up the layers


resulting in some gorgeous coloured papers.  You can make prints on a variety of papers, I just love to use deli paper in my bible.  And there are many 'how to' videos out there, especially on the gelliarts blog, if this is something you'd like to look into more.  This is a mere snippet of an idea.


Where to shop:
I buy my stencils from That's Crafty, mostly buying Crafters Workshop stencils with the occasional Stencil Girl and Artist Cellar, and from craft/stamp shows.  The stencil featured in this post is 'Deconstructed Floral Bouquet Stencil' by Traci Bautista for Stencil Girl.  I purchased mine from That's Crafty but they don't have it on their website at the moment.  Stencils are also available from Crafty Charlie, Art from the Heart, The Artistic Stamper and Clarity Stamps.  That's Crafty, The Artistic Stamper, Clarity Stamps and Lavinia Stamps all stock gelli plates, of which there are a variety of sizes and shapes.  These are just the shops I am familiar with, there will be others.  I do not receive any money or benefit from recommending them.

Wednesday, 10 August 2016

the Wonders of Deli Paper in your Bible - Sarah Anderson


As those of you who know me know, I am not into gesso - life's just too short!  I'm a dive in kind of person and gesso just doesn't work for me.  I'd rather just use things that don't bleed through the thin pages of my bible, or use a 'fix' when they do.  One of those is deli paper.

Deli paper is a thin, tissue paper-like paper, that is waxed on one side.  I have bought mine from Art from the Heart, Harrogate, and Amazon (just type deli paper into the search).  I was introduced to deli paper through my gelli plate, which I'll provide a step by step for in my next post, but you can just add paint with a brush or baby wipes:


Using the non-waxed side of the paper, add patches of different coloured craft acrylic paint (I buy mine in Hobbycraft) with a paintbrush.


Again with the paintbrush, add some paint to a piece of sequin waste (often available in children's 'craft kits' eg at Ryman's) then print with this onto your paper.  You can also stencil through it.


Another great way to add pattern to your page is with this plastic mesh you find in the sewing section at Hobbycraft (other stores are available!) ...


...or by printing with bits of card that you might have lying around.  Keep your eye out around the house for bits and bobs that would made for great texture eg splattering paint with an old toothbrush, printing with a cork from a wine bottle.


You'll usually find me adding paint to paper with a baby wipe so I tested this out on the deli paper too.


This time I added paint through a stencil, as well as through sequin waste.


The beauty of deli paper is that it is thin and light so glues easily to, and sits well on, bible pages.


In this margin I added some stamping on top of the deli paper demonstrated in the step by step above, as well as some lettering (from a StencilGirl stencil) and an owl I stamped and cut out.  Proverbs is full of wisdom, hence the owl, and tells us to 'listen' a lot!!


Whilst camping at New Wine I attempted to carry a pot of soya milk and my bible in the same bag - which resulted in some soggy pages.  I've fixed the front cover with some ugly duct tape (I will improve it with stickers, washi tape...) but for the inner pages, many of which ripped, I used my stash of deli paper.


It's strong, it's light ...


...and it's pretty!